2003 Restoration afterall (part 1 dismantling).
| Thinking it over
|
||
 |
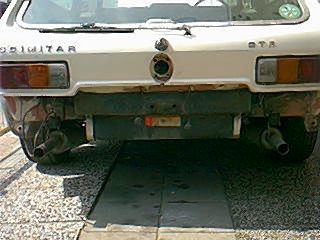
Dismantling Most bolts are overtight and hard to reach. That's the good news. The assembly of the rear bumper looks like it was made to last forever. More than once I needed a helping hand. And that hand had to be inside the car to keep the tools in position while I was working from underneath. By the way, sometimes it was easier the tighten(!) a bolt and break it than removal. At last I could use all the tools I'd been given on fathersday for years and you don't know what to do with it. Bolt killers/cutters, powerfile, etc. |
|
|
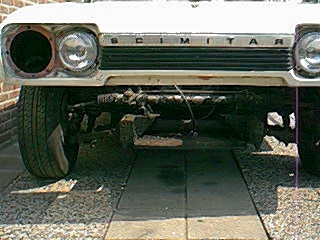
How to proceed 1) Front subframe 2) Front bumper 3) Rear bumper
|
 |
|
 |
||
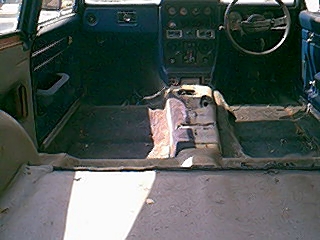
| 4) Interior Removing the front seats and rear seats, rather easy. But renoval of the side panels need extra attention. All the parkers on the bottom were stuck. And that takes some time. Safety belts, on my car the lower bolts were that bad I had to drill them out. |
|
|
|
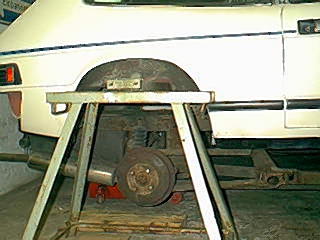
I jacked up the car with a big model jack and then I put a piece of
steel just above the front wheels (This only work - space! - with a
jacked up car) just before the suspensiontowers. Next point as supporting
the steel pieces on both sides (with anything you can get your hands
on). Then I lowered the chassis. I heard a screeching noise of the isolation
strip between the body and chassis tearing up, but after that nothing
(pffeeeww...). |
||
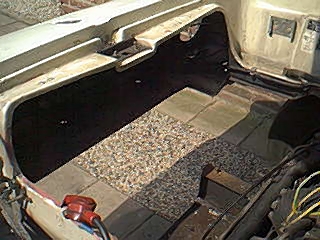
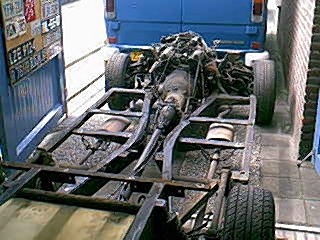
| 6) Engine and gearbox The engine and gearbox (auto) were too heavy for me. I removed these seperately. I do regret I did not remove the gearbox oil before. Now I had to mob the floor of my garage... The axle has a double function: securing te gearbox oil. |
|
|
 5) Body
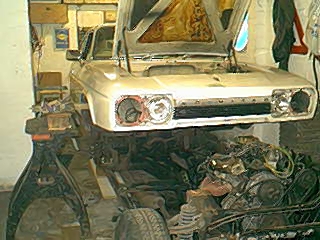
|
7) The rest The end |
 |
September 2003
Jan Eijkemans, NL